DIY Outdoor Obstacle Course Ideas for Everyone
Share
Are you ready to transform your backyard into an adventure playground? Building a DIY outdoor obstacle course is a fantastic way to boost fitness, creativity, and family fun! With minimal supplies and oodles of imagination, you can craft an exciting course that will challenge both adults and kids alike. Whether you're preparing for a local competition or just looking for a fun weekend project, this guide will help you every step of the way. Here's a mind-blowing fact: fitness experts reckon that incorporating an obstacle course into your routine can increase cardiovascular and muscular endurance by up to 20%! Crikey, that's impressive! Let's get building, shall we?
Why Build a DIY Outdoor Obstacle Course?
Ever wondered why so many Aussies are jumping on the DIY outdoor obstacle course bandwagon? Well, buckle up, because I'm about to spill the beans!
Health and fitness benefits
First things first, let's talk about the health perks. Building and using an outdoor obstacle course is like hitting the jackpot of fitness. It's not just a workout; it's an adventure! You'll be jumping, crawling, and swinging your way to better health before you know it. Plus, it's way more exciting than staring at a gym wall, right?
Family bonding and fun activity
Now, here's where it gets even better. Imagine the whole family, from little ankle-biters to grandparents, working together to conquer the course you've built. It's not just exercise; it's creating memories that'll last a lifetime. Who knows, you might even discover your inner ninja warrior!
Cost-effective entertainment solution
Let's face it, entertaining the family can sometimes cost an arm and a leg. But with a DIY obstacle course, you're investing in endless hours of fun without breaking the bank. It's like having your very own adventure park, minus the hefty entrance fees!
Essential Tools and Materials Needed
Alright, now that we're all revved up, let's talk about what you'll need to get this show on the road.
Common tools for outdoor projects
You don't need to be a tradie to build an obstacle course. Basic tools like a hammer, saw, measuring tape, and screwdriver will do the trick. If you're feeling fancy, a power drill can be a real time-saver. Don't have these? No worries! It's a great excuse to chat with your neighbours and borrow what you need.
Budget-friendly materials
Here's where you can get creative! Old tyres, wooden pallets, ropes, and PVC pipes are your new best friends. Keep an eye out for discarded materials that could be upcycled into obstacle course gold. One person's trash is another person's treasure, especially when it comes to DIY projects!
Safety gear essentials
Safety first, mates! Grab some gloves, safety glasses, and sturdy shoes. If you're working with wood, a dust mask isn't a bad idea either. Remember, we want to build an obstacle course, not end up in the emergency room!
Planning Your Obstacle Course Layout
Now, let's put on our thinking caps and start planning this epic adventure!
Assessing available space
Take a good look at your backyard. Is it flat as a pancake or hilly as the Snowy Mountains? Each terrain offers unique opportunities. Measure your space and sketch out a rough plan. Remember, you don't need a massive area to create a challenging course.
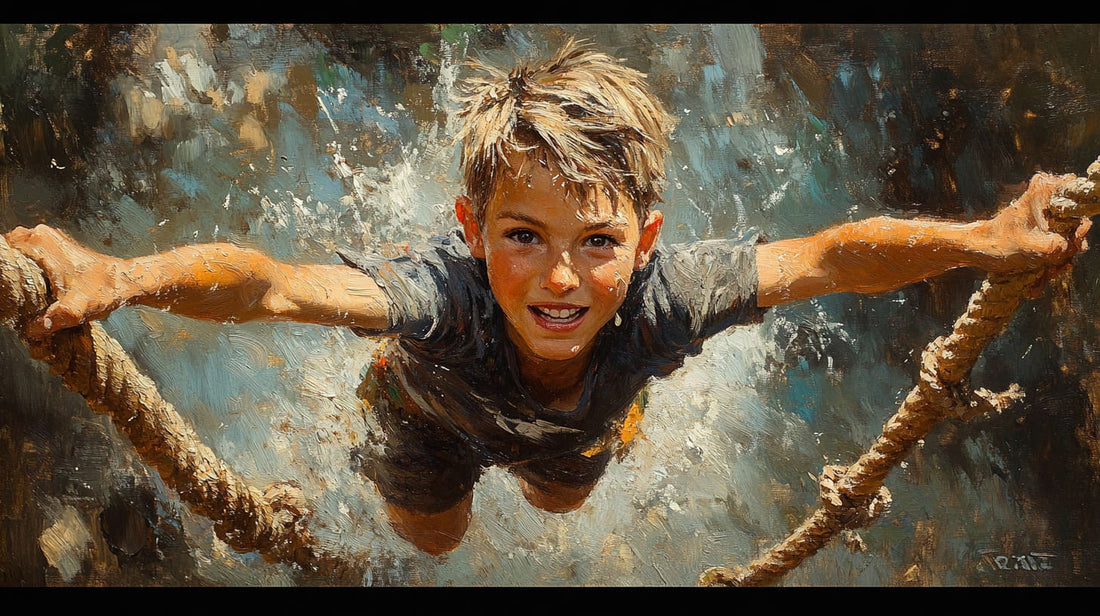
Designing obstacles for varied challenges
Here's where the fun really begins! Mix it up with obstacles that test different skills. How about a balance beam made from a fallen tree branch? Or a rope swing between two sturdy gum trees? The sky's the limit!
Creating a flow for optimal fun
Think of your course like a story – it needs a good flow. Start with easier obstacles and gradually increase the difficulty. This way, everyone from your little joey to your seasoned kangaroo can enjoy the challenge.
Building Simple Obstacles
Roll up your sleeves, it's time to get our hands dirty!
How to use recycled materials creatively
Remember those old tyres I mentioned? Bury them halfway in the ground for a fun run-through. Got some leftover timber? Perfect for building a climbing wall. Old hoses can become a 'snake pit' to crawl through. The possibilities are endless!
Tutorials for easy DIY obstacles
Let's break it down with a simple tutorial. How about a 'Spider Web' obstacle? All you need is some rope and a few sturdy posts. Tie the rope between the posts in a crisscross pattern, leaving gaps big enough to climb through. Voila! You've got yourself a challenging and fun obstacle.
Step-by-step guide for beginners
- Start small: Begin with 2-3 simple obstacles.
- Test as you go: Build one obstacle at a time and test it thoroughly.
- Adjust and improve: Don't be afraid to tweak your design if something's not working.
- Gradually expand: As you get more confident, add more complex obstacles.
- Have fun: Remember, the goal is to enjoy the process!
Ensuring Safety and Accessibility
We want thrills, not spills, so let's talk safety!
Safety tips to prevent injuries
Soft landings are your best mate. Use mulch, sand, or grass clippings under higher obstacles. Check for splinters on wooden structures and cap any sharp edges on PVC pipes. And always, always supervise the little ones!
Making the course accessible for all ages
Design alternatives for each obstacle. For example, alongside your rope climb, include a ladder for those who need it. This way, everyone from your toddler to your grandma can join in the fun.
Regular inspection and maintenance advice
Give your course a once-over regularly. Tighten loose bolts, replace frayed ropes, and check for wear and tear. A well-maintained course is a safe course!
Inspiring Course Layouts and Themes
Let's kick it up a notch and get those creative juices flowing!
Themed course ideas for kids and adults
How about an 'Aussie Outback Adventure' theme? Include a 'crocodile-infested' water crossing (kiddie pool with inflatable crocs), a 'koala climb' (climbing wall), and a 'kangaroo hop' (series of tyres to jump through). For the adults, why not try a 'Survivor Challenge' theme with more intense obstacles?
Adapting the course for seasonal changes
In summer, incorporate water elements to beat the heat. During cooler months, focus on obstacles that keep you moving to stay warm. For spring, why not add some garden elements and make obstacle-clearing part of your yard work?
Community events and competitive use cases
Once you've mastered your course, why not invite the neighbours over for a friendly competition? You could even organise a charity event in your local community. Who knows, you might inspire others to build their own courses!
Conclusion
Crikey, we've covered a lot of ground! Building a DIY outdoor obstacle course is not just about the physical perks—it's also a journey of creativity and family bonding. As you construct and adapt your course, you'll find yourself creating memories while reaping health benefits.
Ready to start your adventure? Grab some tools, gather your family, and let the building begin! Share your projects and inspire others in your community or social media by tagging your progress. Let's make fitness and fun a shared adventure!
Remember, whether you're leaping over hurdles or crawling under nets, the real obstacle you're overcoming is the one between your ears. So get out there, give it a go, and most importantly, have a blast! Who knows, you might just become the next backyard obstacle course guru in your neighbourhood. Now, off you go – your adventure awaits!